
Trim Work That Closes Out the Build Correctly
Trim & Finish Carpentry in Rapid City for new construction and remodels where door setting, casing, and base must match existing profiles or new drywall conditions
After drywall and paint are finished, the trim package is what determines whether a room reads as complete or still looks like a construction zone. Rebers Remodel & Construction runs a dedicated production crew that installs doors, base, casing, cabinetry, and closet systems across both single-family homes and multi-unit developments in Rapid City, completing hundreds of interior trim packages each year. That production volume reflects a crew that works through the sequence—setting doors before casing, casing before base, base before final paint touch—rather than treating each element as a standalone task.
Rapid City's mix of 1970s ranch remodels and newer subdivision builds creates two distinct trim conditions: matching an existing profile in a home where the original millwork is still in place, versus setting trim into fresh drywall in a new-build unit where nothing has to match but everything has to be consistent. The techniques differ. In a remodel, the crew identifies the existing profile and sources or mills matching stock before a single piece is cut. In new construction, the focus shifts to maintaining consistent reveals and tight miters across a larger number of identical openings. Before work begins, customers should confirm whether a single scope or a full finish package is being quoted and who is supplying the materials.
Arrange an interior review to assess your current drywall condition, door swing configuration, and profile requirements before the trim package is priced.
The Difference Between a Trim Package and Finish Work Done Correctly
Door setting comes first because a door that is not plumb and square in its frame will bind regardless of how well the casing is applied over it. The crew sets each door, checks operation through the full swing, and adjusts hinge placement or jamb position before any casing is installed. Casing is then applied with consistent reveals on the jamb face, mitered at corners with glue and pin nails, and the base follows the floor plane rather than a level line—which matters in older Rapid City homes where the floor has settled and no longer reads flat across the room.
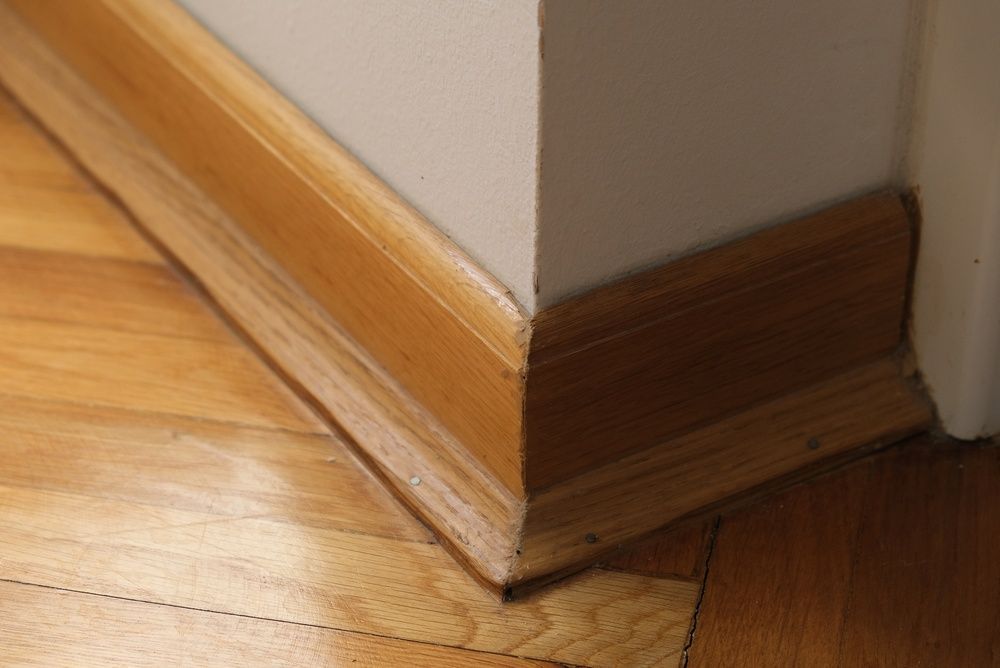
When the trim package is finished, the observable result is a room where reveals are the same width on every door, base sits flush to the floor without rocking, and caulk is limited to the paint line rather than used to fill gaps caused by poor fitting. Cabinetry is level and plumb with consistent gaps at doors and drawers, and closet systems align to the wall plane without visible shimming at the face.
Multi-unit trim packages follow the same standards but require additional coordination around material staging and unit sequencing so the crew is not waiting on drywall completion in one unit while another is ready to finish. Customers on multi-unit projects should confirm how units are staged in the schedule and what the process is for units that fall behind the finish-ready sequence.
Questions Before Starting Your Project

The questions below address how interior trim and finish carpentry work is sequenced and what property owners and developers should verify before and after the installation.
What has to be complete before the trim crew can start?
Drywall must be finished and primed, rough-in inspections for electrical and plumbing must be closed, and floor coverings that go under base must be installed before base is set. On projects in Rapid City where paint and trim schedules overlap, the crew confirms which coat of paint is in place before casing and base are applied to avoid re-painting over finished carpentry.
How is an existing trim profile matched in a remodel?
The existing casing or base is measured for height, thickness, and any routed detail along the face, then matched against available stock profiles or milled to match if the original is a discontinued pattern. In 1970s ranch homes, colonial casing and ranch base are common profiles that are still widely available, but homes with original craftsman or custom millwork may require milling.
Why does door setting come before casing installation?
A door set out of plumb will bind at the latch or drag on the threshold regardless of how precisely the casing is applied afterward. Setting the door first and confirming operation before any finish work goes on means the casing is never removed to correct a door that was installed out of square.
What should you look at in finished trim work to confirm it was installed correctly?
Consistent reveal width on casing—typically three-sixteenths to a quarter inch on the jamb face—miters that close without gaps at the corners, and base that sits flush to the floor across its full run without gaps at the wall or floor line are the primary indicators. Caulk at the paint line is normal; caulk filling a miter gap or a base-to-floor gap is a fitting deficiency.
How are closet systems integrated with the trim package?
Closet shelving and rod standards are installed after base is set so the system sits above the finished base line. Shelf standards must be plumb and fastened into studs or blocking, not just drywall anchors, to carry the load of a full closet over time without pulling away from the wall.
Rebers Remodel & Construction also installs trim and finish carpentry in Hill City, Sturgis, Spearfish, Whitewood, and Custer. To review your specific unit conditions and confirm what the trim package will include, call (605) 519-3288 to set up a walkthrough with the production crew.